Trezor.io/start — Complete Setup and User Guide
Trezor.io/start is the official setup portal for initializing and securing your Trezor hardware wallet. It ensures users follow the safest, verified steps to configure their devices, create wallets, manage crypto assets, and learn best practices for maintaining long-term security. This guide explains each stage in detail — from connecting your Trezor device for the first time to understanding your recovery seed and using Trezor Suite.
1. Introduction to Trezor.io/start
Trezor.io/start serves as a trusted gateway to guide users through the setup of Trezor hardware wallets like the Trezor Model T and Trezor One. It eliminates confusion and reduces the risk of using unauthorized or fake software. All instructions at this link are designed to be executed offline or through the official Trezor Suite desktop app, ensuring your crypto keys never leave your device.
2. Why Use a Hardware Wallet
A hardware wallet like Trezor provides the strongest form of protection for your cryptocurrency. Private keys, which are required to access and send funds, remain isolated within the device and are never shared online. This hardware-based isolation protects against phishing attacks, keyloggers, and malware that can target online wallets or exchanges.
3. Setting Up Your Device
When you first unbox your Trezor, you’ll find the hardware wallet, a USB cable, recovery seed cards, and a quick start guide. Follow these steps:
- Connect your Trezor device to a trusted computer using the USB cable.
- The Trezor screen will display a welcome message — confirm that the holographic seal is intact before proceeding.
- Go to Trezor.io/start on your browser to access official setup instructions.
- Download the official Trezor Suite software for your operating system.
- Install and launch Trezor Suite, then follow the on-screen steps to initialize your wallet.
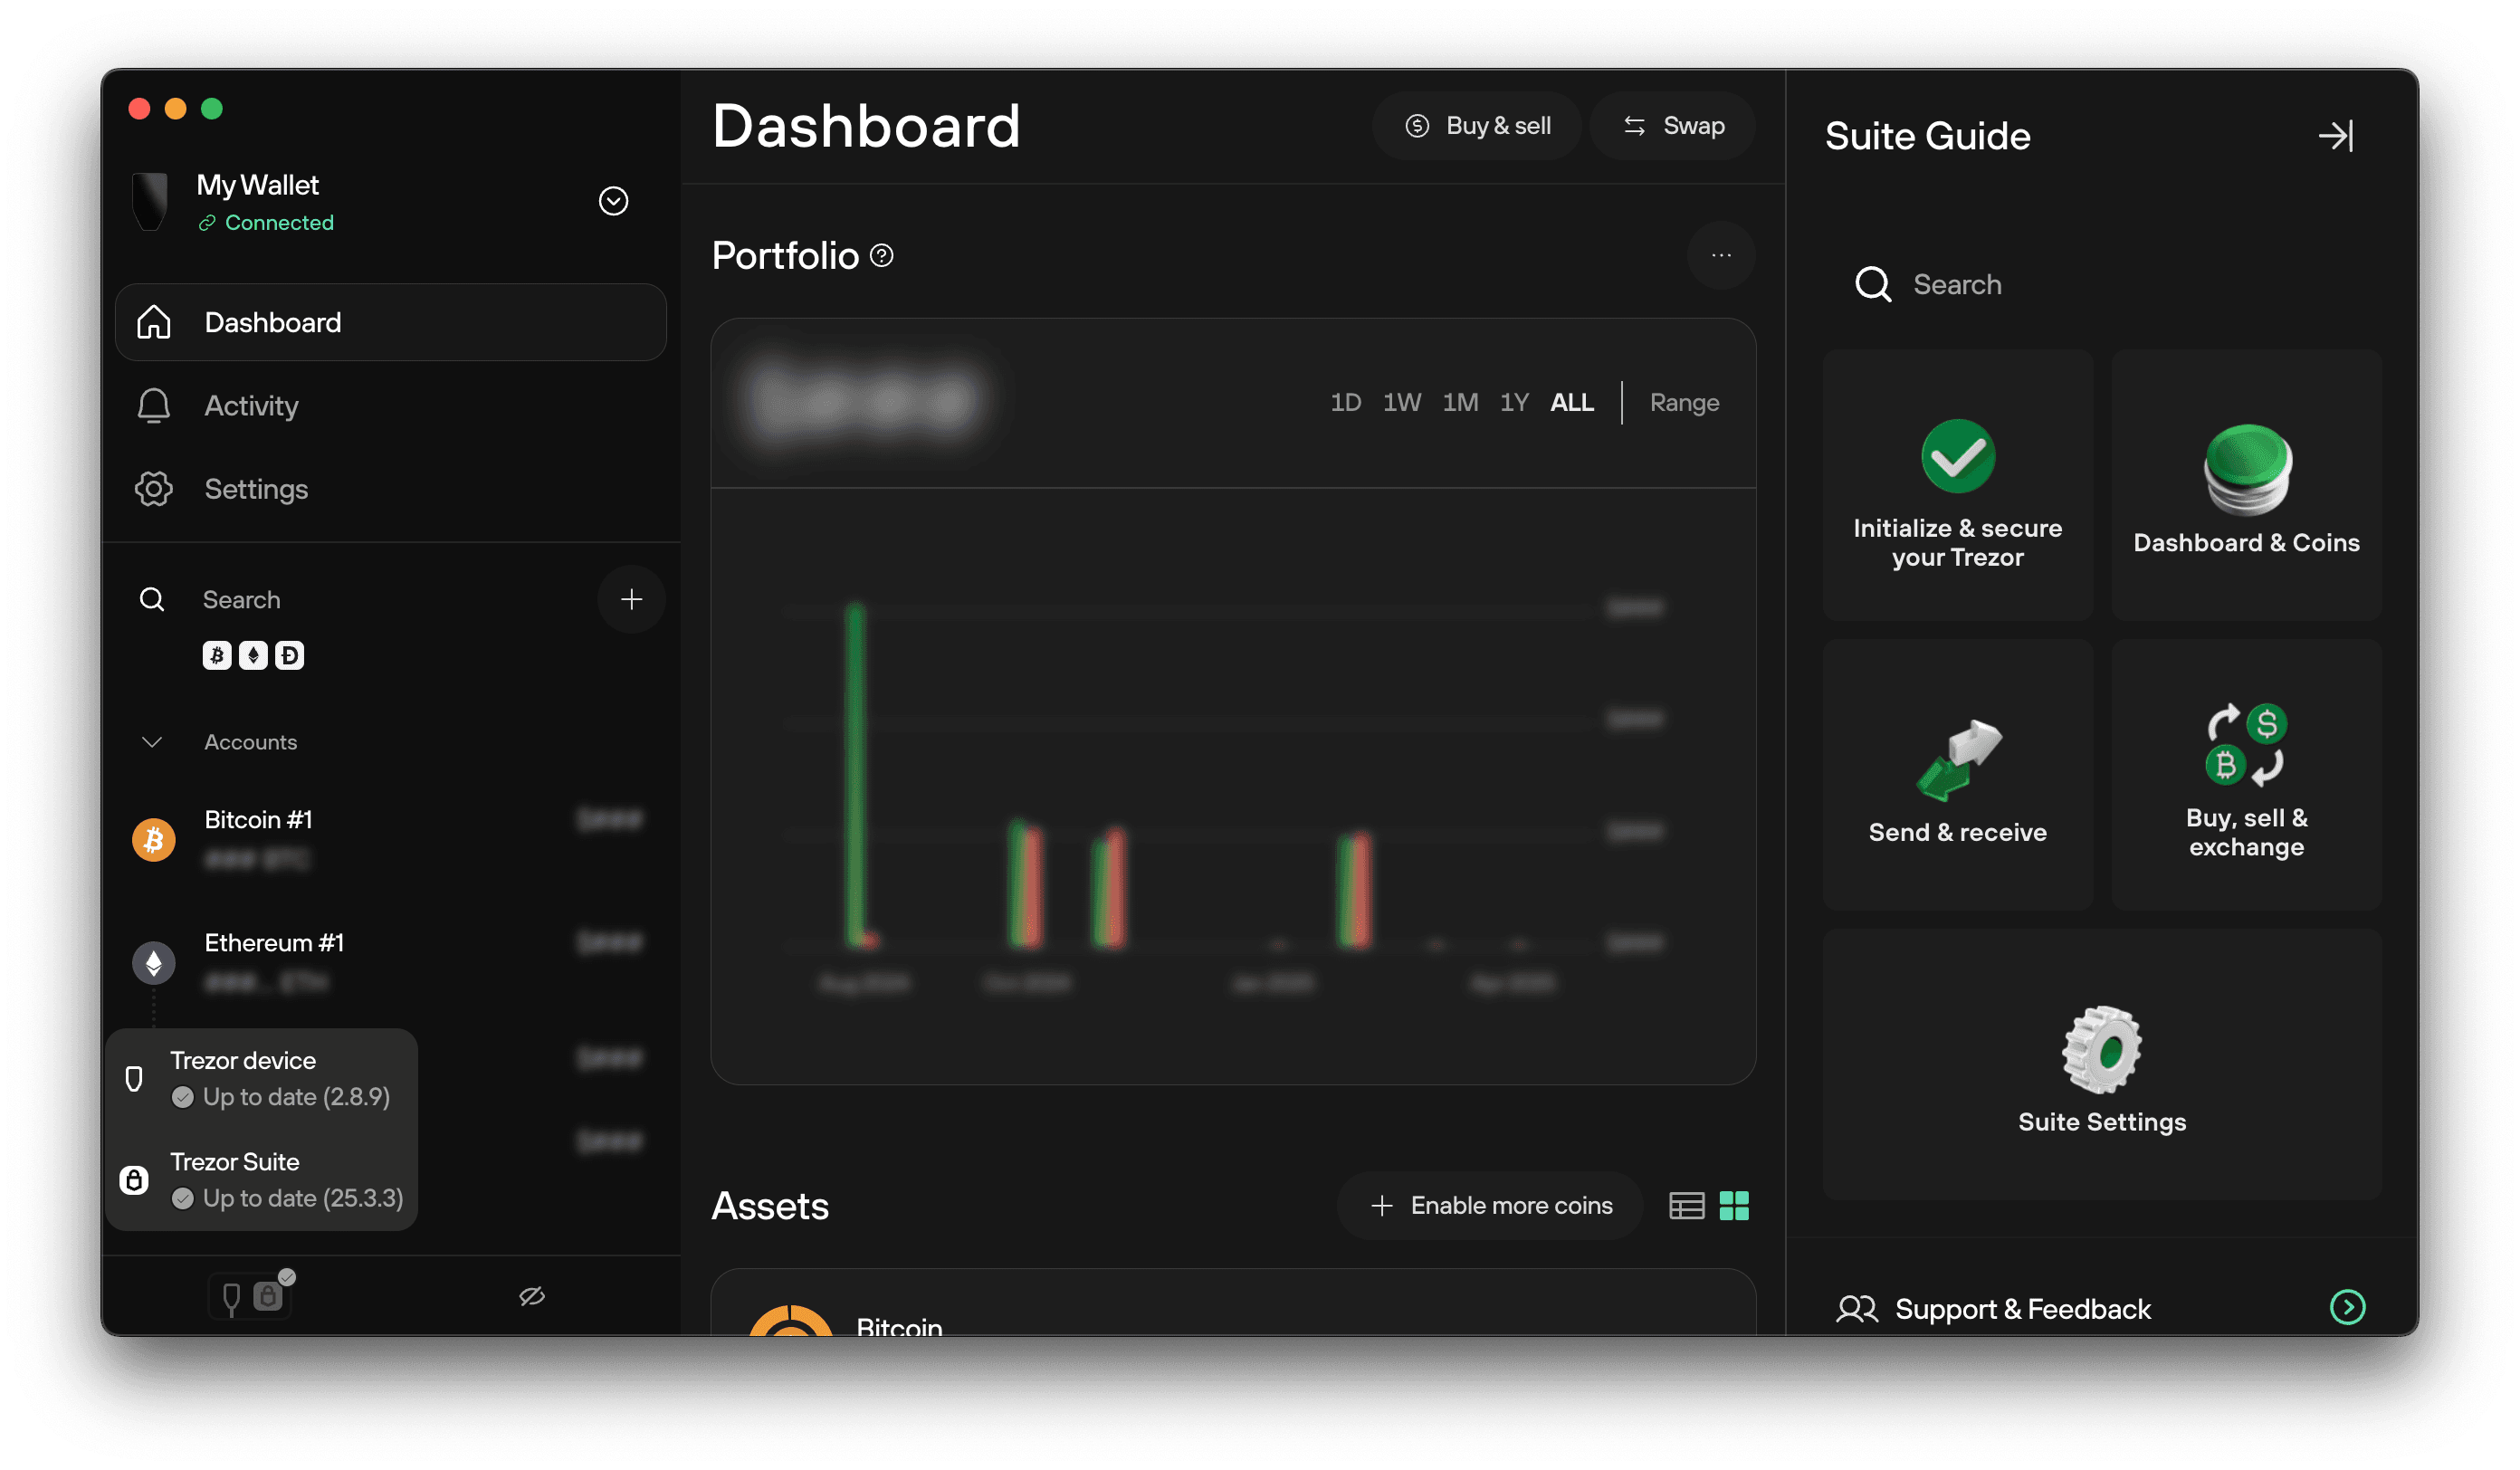
4. Installing and Using Trezor Suite
Trezor Suite is the all-in-one software companion that helps users manage digital assets securely. Available for Windows, macOS, and Linux, it offers a simple interface to check balances, send and receive crypto, and monitor portfolio performance. Importantly, all critical operations — such as transaction signing — happen inside your hardware wallet, not on your computer.
During the setup, you’ll also install the latest firmware on your device. Trezor firmware updates are cryptographically verified to prevent tampering, ensuring you’re always using authentic software from Trezor developers.
5. Creating a Recovery Seed
The recovery seed is the cornerstone of your wallet’s security. During initialization, your Trezor device will display 12, 18, or 24 words in sequence. This phrase is your recovery key — if your Trezor is ever lost or damaged, you can restore your funds using this seed.
6. Setting Your PIN and Passphrase
After recording your recovery seed, you’ll be asked to set a PIN. This PIN prevents unauthorized access if your device falls into the wrong hands. Choose a PIN that’s hard to guess but easy to remember. For added protection, advanced users can enable a passphrase — a unique word or phrase that acts as a 25th seed word for added wallet security.
7. Making Your First Transaction
Once your wallet is set up, Trezor Suite allows you to send and receive cryptocurrencies easily. To receive, click “Receive,” choose an asset, and confirm the address shown on your computer matches what’s displayed on your Trezor screen. For sending, enter the recipient’s address and amount, then confirm both details on your device before approving the transaction.
8. Firmware Updates and Maintenance
Keeping your Trezor up to date is vital. Firmware updates include security improvements, performance enhancements, and support for new assets. Updates can be applied safely through Trezor Suite, and the device itself will display verification prompts during the process.
9. Privacy and Security Tips
- Always download Trezor Suite from official sources only.
- Never share your recovery seed or PIN with anyone.
- Verify all addresses directly on your device screen.
- Store your recovery seed in a fireproof or waterproof location.
- Consider using Tor for additional network privacy.
Trezor also offers options for anonymous portfolio management and secure connectivity, ensuring your personal data is never collected or sold.
10. Restoring Your Wallet
If your Trezor device is lost or damaged, you can easily restore your crypto holdings on a new Trezor. During the setup process, select “Recover wallet” and enter your recovery seed in the correct order using the on-screen instructions. This process regenerates all wallet addresses and balances associated with your seed phrase.
11. Why Choose Trezor
Trezor, developed by SatoshiLabs, was the first hardware wallet ever created and remains one of the most trusted solutions for crypto storage. Its open-source philosophy, transparent firmware, and user-first design make it ideal for both beginners and advanced crypto holders. Trezor.io/start ensures that setup remains intuitive while maintaining maximum safety at every step.
12. Final Thoughts
Security in cryptocurrency is not just about technology — it’s about consistent habits. By following the official setup process via Trezor.io/start, using verified firmware, and handling your recovery seed responsibly, you can safeguard your assets against most known digital threats. The Trezor hardware wallet, combined with Trezor Suite, gives you full ownership and peace of mind in managing your financial future.
Always remember that your private keys never leave your device. Every transaction must be approved manually on your Trezor screen, ensuring that even in a compromised environment, your funds remain protected.